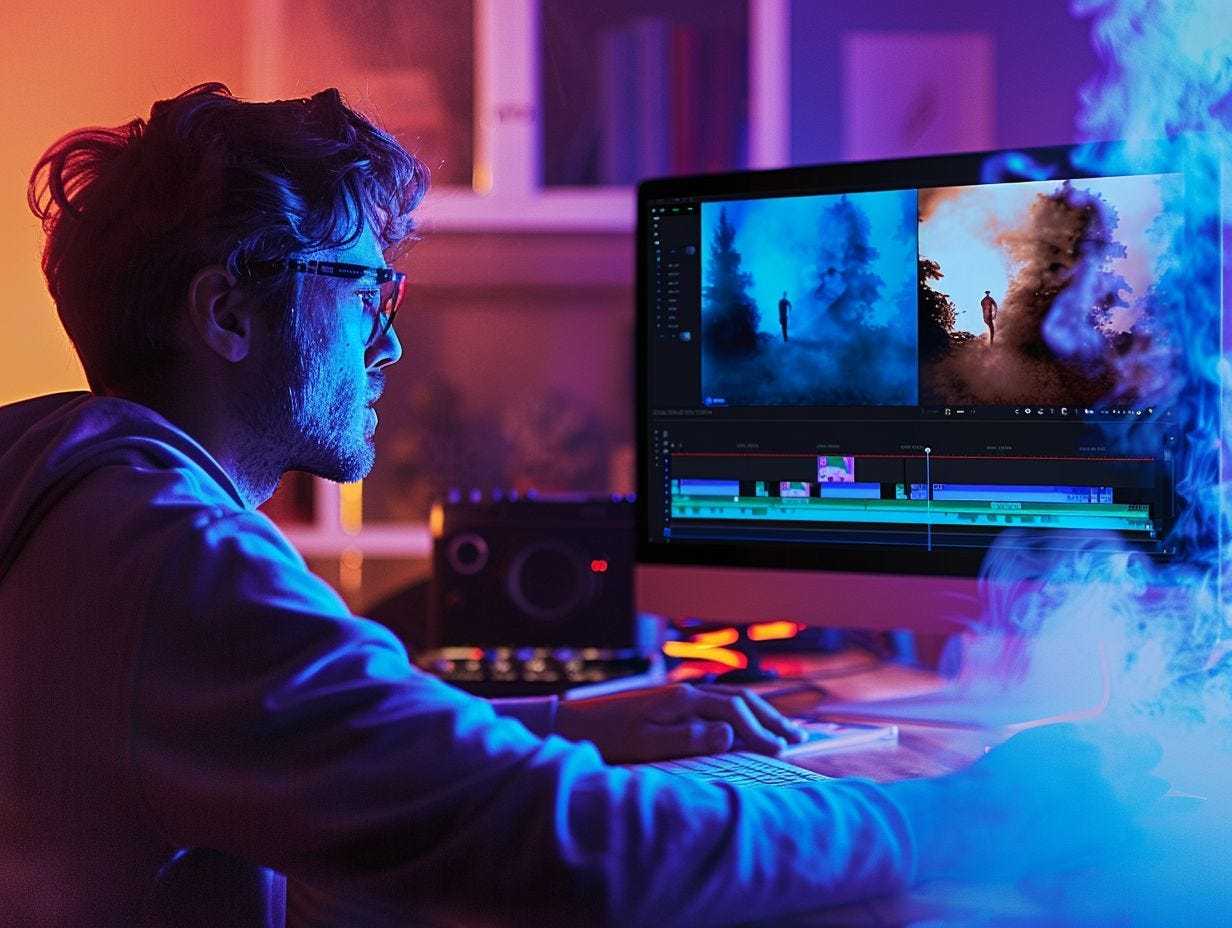
A well-structured Video Editing Workflow is essential for creating high-quality video content efficiently. Whether you are producing content for social media, film production, marketing campaigns, or YouTube channels, a streamlined workflow ensures consistency, speed, and professional results. Modern video production relies on powerful tools such as Adobe Premiere Pro, Final Cut Pro, DaVinci Resolve, and Avid Media Composer, which allow editors to manage complex editing projects with precision.
This comprehensive guide explains the complete Video Editing Workflow, from planning and organizing footage to exporting the final product. Understanding these stages will help editors work more efficiently and produce professional-quality videos.
Understanding the Video Editing Workflow
The Video Editing Workflow refers to the structured sequence of steps that video editors follow to transform raw footage into a polished final product. These steps typically include:
- Pre-production planning
- Media organization
- Rough cut editing
- Fine editing and transitions
- Color correction and grading
- Audio editing and mixing
- Visual effects and motion graphics
- Exporting and publishing
Each stage plays an important role in ensuring a smooth editing process and maintaining professional production standards.
1. Pre-Production Planning
An efficient workflow begins before the editing stage. Pre-production planning helps editors understand the creative vision and technical requirements of the project.
Editors often collaborate with directors, producers, and cinematographers to review scripts, storyboards, and shot lists. Professional filmmakers like Christopher Nolan and David Fincher emphasize meticulous planning because it simplifies editing and ensures narrative clarity.
Key pre-production tasks include:
- Reviewing the script and storyboard
- Understanding the project’s style and pacing
- Identifying required footage and graphics
- Preparing editing templates in software like Adobe After Effects or Final Cut Pro
A strong pre-production phase reduces editing time and minimizes mistakes later in the workflow.
2. Importing and Organizing Media
Once footage is captured, the next step in the Video Editing Workflow is importing and organizing media files.
Professional editors deal with large amounts of footage recorded using cameras from companies like Sony, Canon, and Blackmagic Design. Without proper organization, editing becomes slow and confusing.
Best practices for media organization include:
- Creating folders for video, audio, graphics, and project files
- Renaming clips for easy identification
- Using metadata and tags within editing software
- Creating proxies for high-resolution footage
For example, editors working with 4K or 8K footage often create proxy files in DaVinci Resolve or Adobe Premiere Pro to improve playback performance.
Proper media management ensures a faster and more efficient editing workflow.
3. Creating the Rough Cut
The rough cut is the first stage of assembling the video. At this stage, editors place clips in chronological order based on the script or storyboard.
The goal of the rough cut is not perfection but structure. Editors focus on storytelling rather than visual polish.
Key tasks include:
- Selecting the best takes
- Arranging clips in sequence
- Removing unnecessary footage
- Establishing the narrative flow
Editing platforms like Avid Media Composer are widely used in Hollywood productions because they allow editors to manage complex timelines efficiently.
At the rough cut stage, editors also determine pacing and structure, ensuring the story flows logically.
4. Fine Editing and Transitions
After the rough cut, editors move to fine editing, where they refine the video and enhance its visual quality.
This stage involves:
- Adjusting clip timing
- Adding transitions
- Improving pacing
- Enhancing storytelling
Transitions such as cuts, fades, dissolves, and wipes are commonly used. Many editors also rely on motion graphics tools like Adobe After Effects for advanced visual transitions.
However, professional editors generally follow the principle that transitions should support storytelling rather than distract viewers.
5. Color Correction and Color Grading
Color plays a critical role in visual storytelling. The color correction and grading stage ensures visual consistency and enhances mood.
Color correction focuses on fixing technical issues such as exposure, white balance, and contrast. Color grading, on the other hand, adds artistic style to the footage.
One of the most popular tools for this stage is DaVinci Resolve, widely used in professional film production.
Many famous films, including those directed by Steven Spielberg, rely heavily on color grading to create cinematic aesthetics.
Editors may apply techniques such as:
- Color balancing
- LUTs (Look-Up Tables)
- Cinematic contrast adjustments
- Film-style color tones
Effective color grading can dramatically improve the emotional impact of a video.
6. Audio Editing and Sound Design
A professional Video Editing Workflow must include detailed audio editing.
Even visually stunning videos can feel unprofessional if audio quality is poor. Editors often use specialized tools such as Adobe Audition or Pro Tools for advanced sound editing.
Audio editing tasks include:
- Noise reduction
- Dialogue enhancement
- Background music integration
- Sound effects synchronization
Many editors also incorporate royalty-free music libraries or soundtracks inspired by composers like Hans Zimmer to create emotional depth.
Proper sound design enhances viewer engagement and overall production value.
7. Visual Effects and Motion Graphics
Modern video production often includes visual effects (VFX) and motion graphics.
These elements are commonly created using tools like Adobe After Effects or integrated directly into editing software like Final Cut Pro.
Examples of visual enhancements include:
- Animated titles
- Lower-third graphics
- Motion tracking
- Green screen compositing
- Animated infographics
Many YouTube creators, including MrBeast, use dynamic motion graphics to make their content more engaging and visually appealing.
Visual effects should always complement the video’s narrative and branding.
8. Exporting and Rendering the Final Video
The final step in the Video Editing Workflow is exporting the completed project.
Export settings depend on the platform where the video will be published. Common platforms include:
- YouTube
- TikTok
Editors must choose appropriate:
- Resolution (1080p, 4K, etc.)
- Frame rate
- Bitrate
- File format (MP4, MOV, etc.)
Software like Adobe Premiere Pro and Final Cut Pro provide optimized export presets for various platforms.
Before publishing, editors usually review the final video to ensure there are no visual or audio errors.
Best Practices for an Efficient Video Editing Workflow
To maintain productivity and professional quality, editors should follow several best practices.
Maintain Organized Project Files
Keep separate folders for:
- Raw footage
- Audio files
- Graphics
- Project files
- Exported videos
This organization prevents confusion and speeds up editing.
Use Keyboard Shortcuts
Professional editors rely heavily on keyboard shortcuts within software such as Adobe Premiere Pro to reduce editing time.
Create Editing Templates
Templates for titles, transitions, and color presets help maintain consistency across projects.
Back Up Your Work
Editors often store project backups using cloud services such as Google Drive, Dropbox, or Microsoft OneDrive to prevent data loss.
Future Trends in Video Editing Workflows
The future of Video Editing Workflow is evolving rapidly due to advances in artificial intelligence and cloud collaboration.
Companies like Adobe and Blackmagic Design are introducing AI-powered tools that automate tasks such as scene detection, color correction, and audio cleanup.
Cloud-based editing platforms also allow teams to collaborate remotely, making video production faster and more scalable.
These innovations are transforming how editors work and enabling creators to produce high-quality content more efficiently.
Conclusion
A structured Video Editing Workflow is essential for producing professional-quality video content efficiently. From pre-production planning and media organization to color grading, audio editing, and final export, each step contributes to the overall quality of the finished video.
Professional tools like Adobe Premiere Pro, DaVinci Resolve, and Final Cut Pro have revolutionized the editing process, allowing creators to transform raw footage into compelling visual stories.
By following a well-organized workflow and adopting modern editing technologies, content creators, filmmakers, and marketers can significantly improve productivity, maintain consistency, and deliver engaging videos that capture audience attention across platforms.
Leave a Reply